


I never thought I would say that I made my own Christmas wreath.
BUT I DID!
Me and anything DIY or craft related usually don’t go well together. I like to think I’m a very creative person, but I’m also very bad with my hands and putting stuff together.
So when Jenn from Wishful Luxury invited me to a Christmas Wreath making class, I was a little worried, I won’t lie! But it sounded like a nice chance to catch up, spend time together and get in the festive mood, so I said yes!
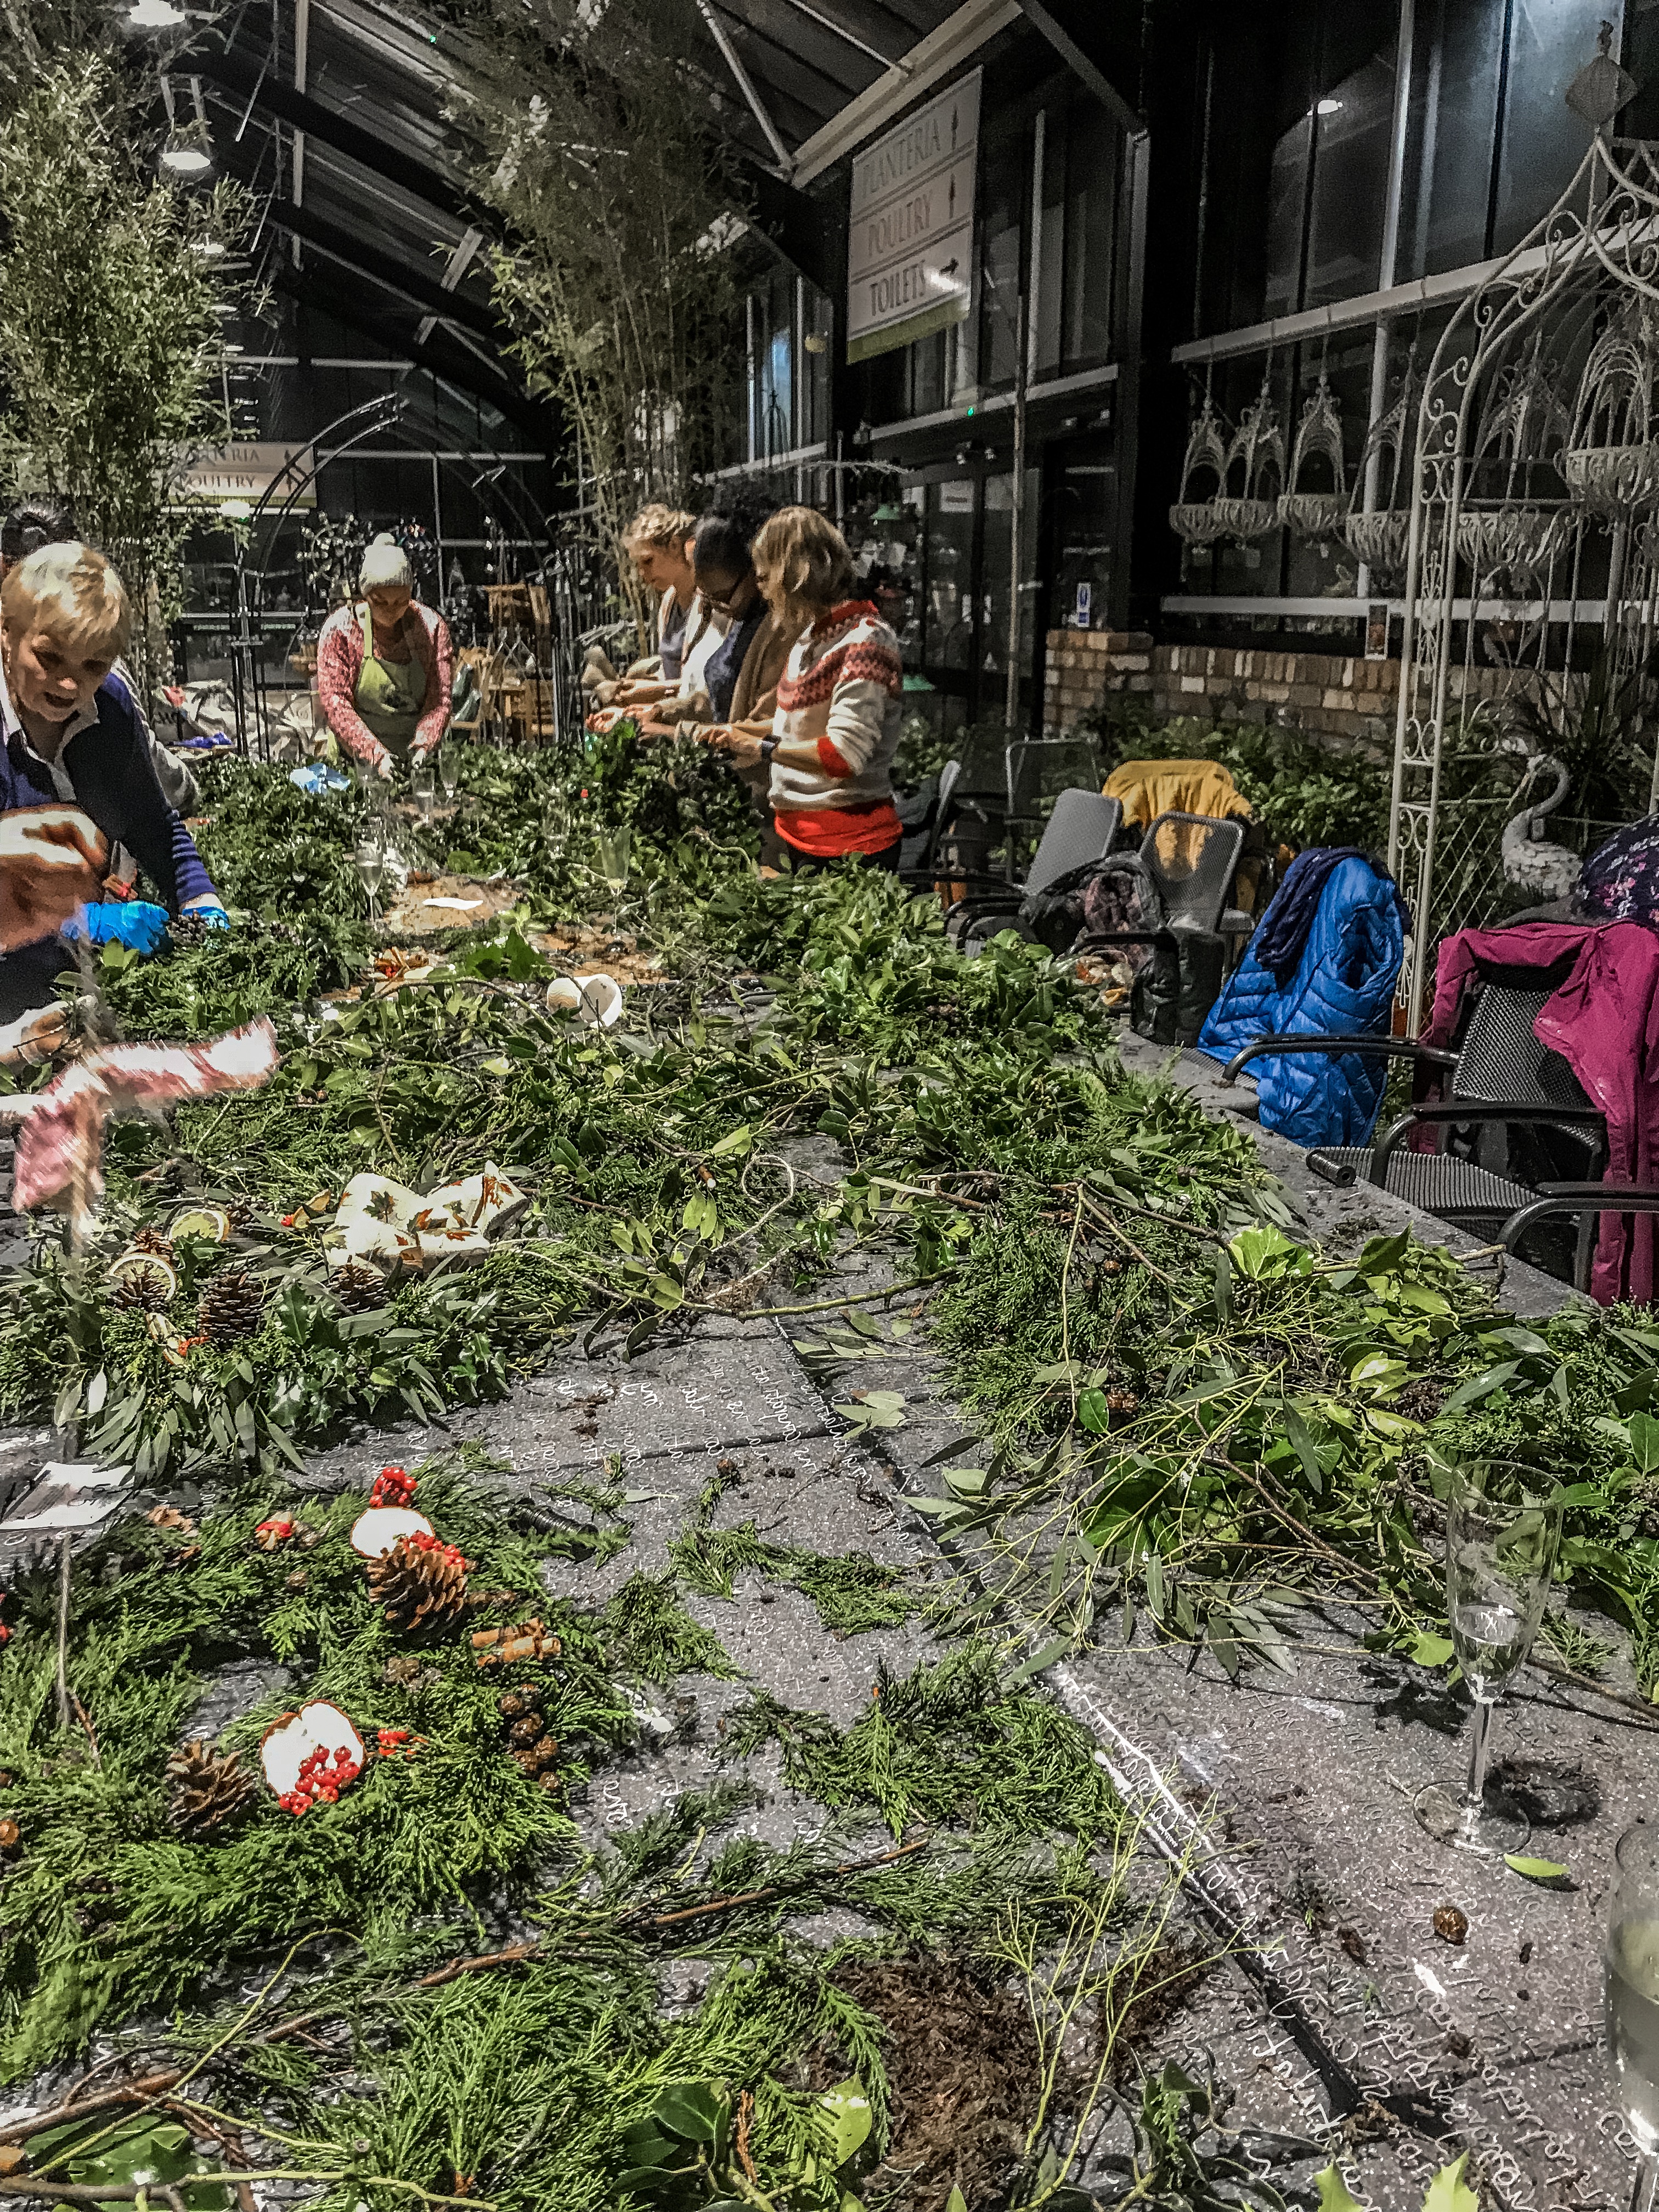
The Christmas wreath evening was held at Bell Plantation in Towcester with Miss Lillie’s, a Towcester based florist, hosting the evening too.
I’ve been to Bell Plantation several times for shopping or for coffee and cake, but they definitely know how to put on a Christmas display!


We arrived at Bell and were greeted by the ladies and gentleman at Bell along with the team from Miss Lillie’s. We were handed a glass of prosecco and sat down ready to get involved with the evening.
I looked down at the metal, the scissors and metal thread and I honestly thought to myself “I’m going to cock this up BIG time!”
But thankfully, the team at Miss Lillie’s were on hand to guide us through the three stages:
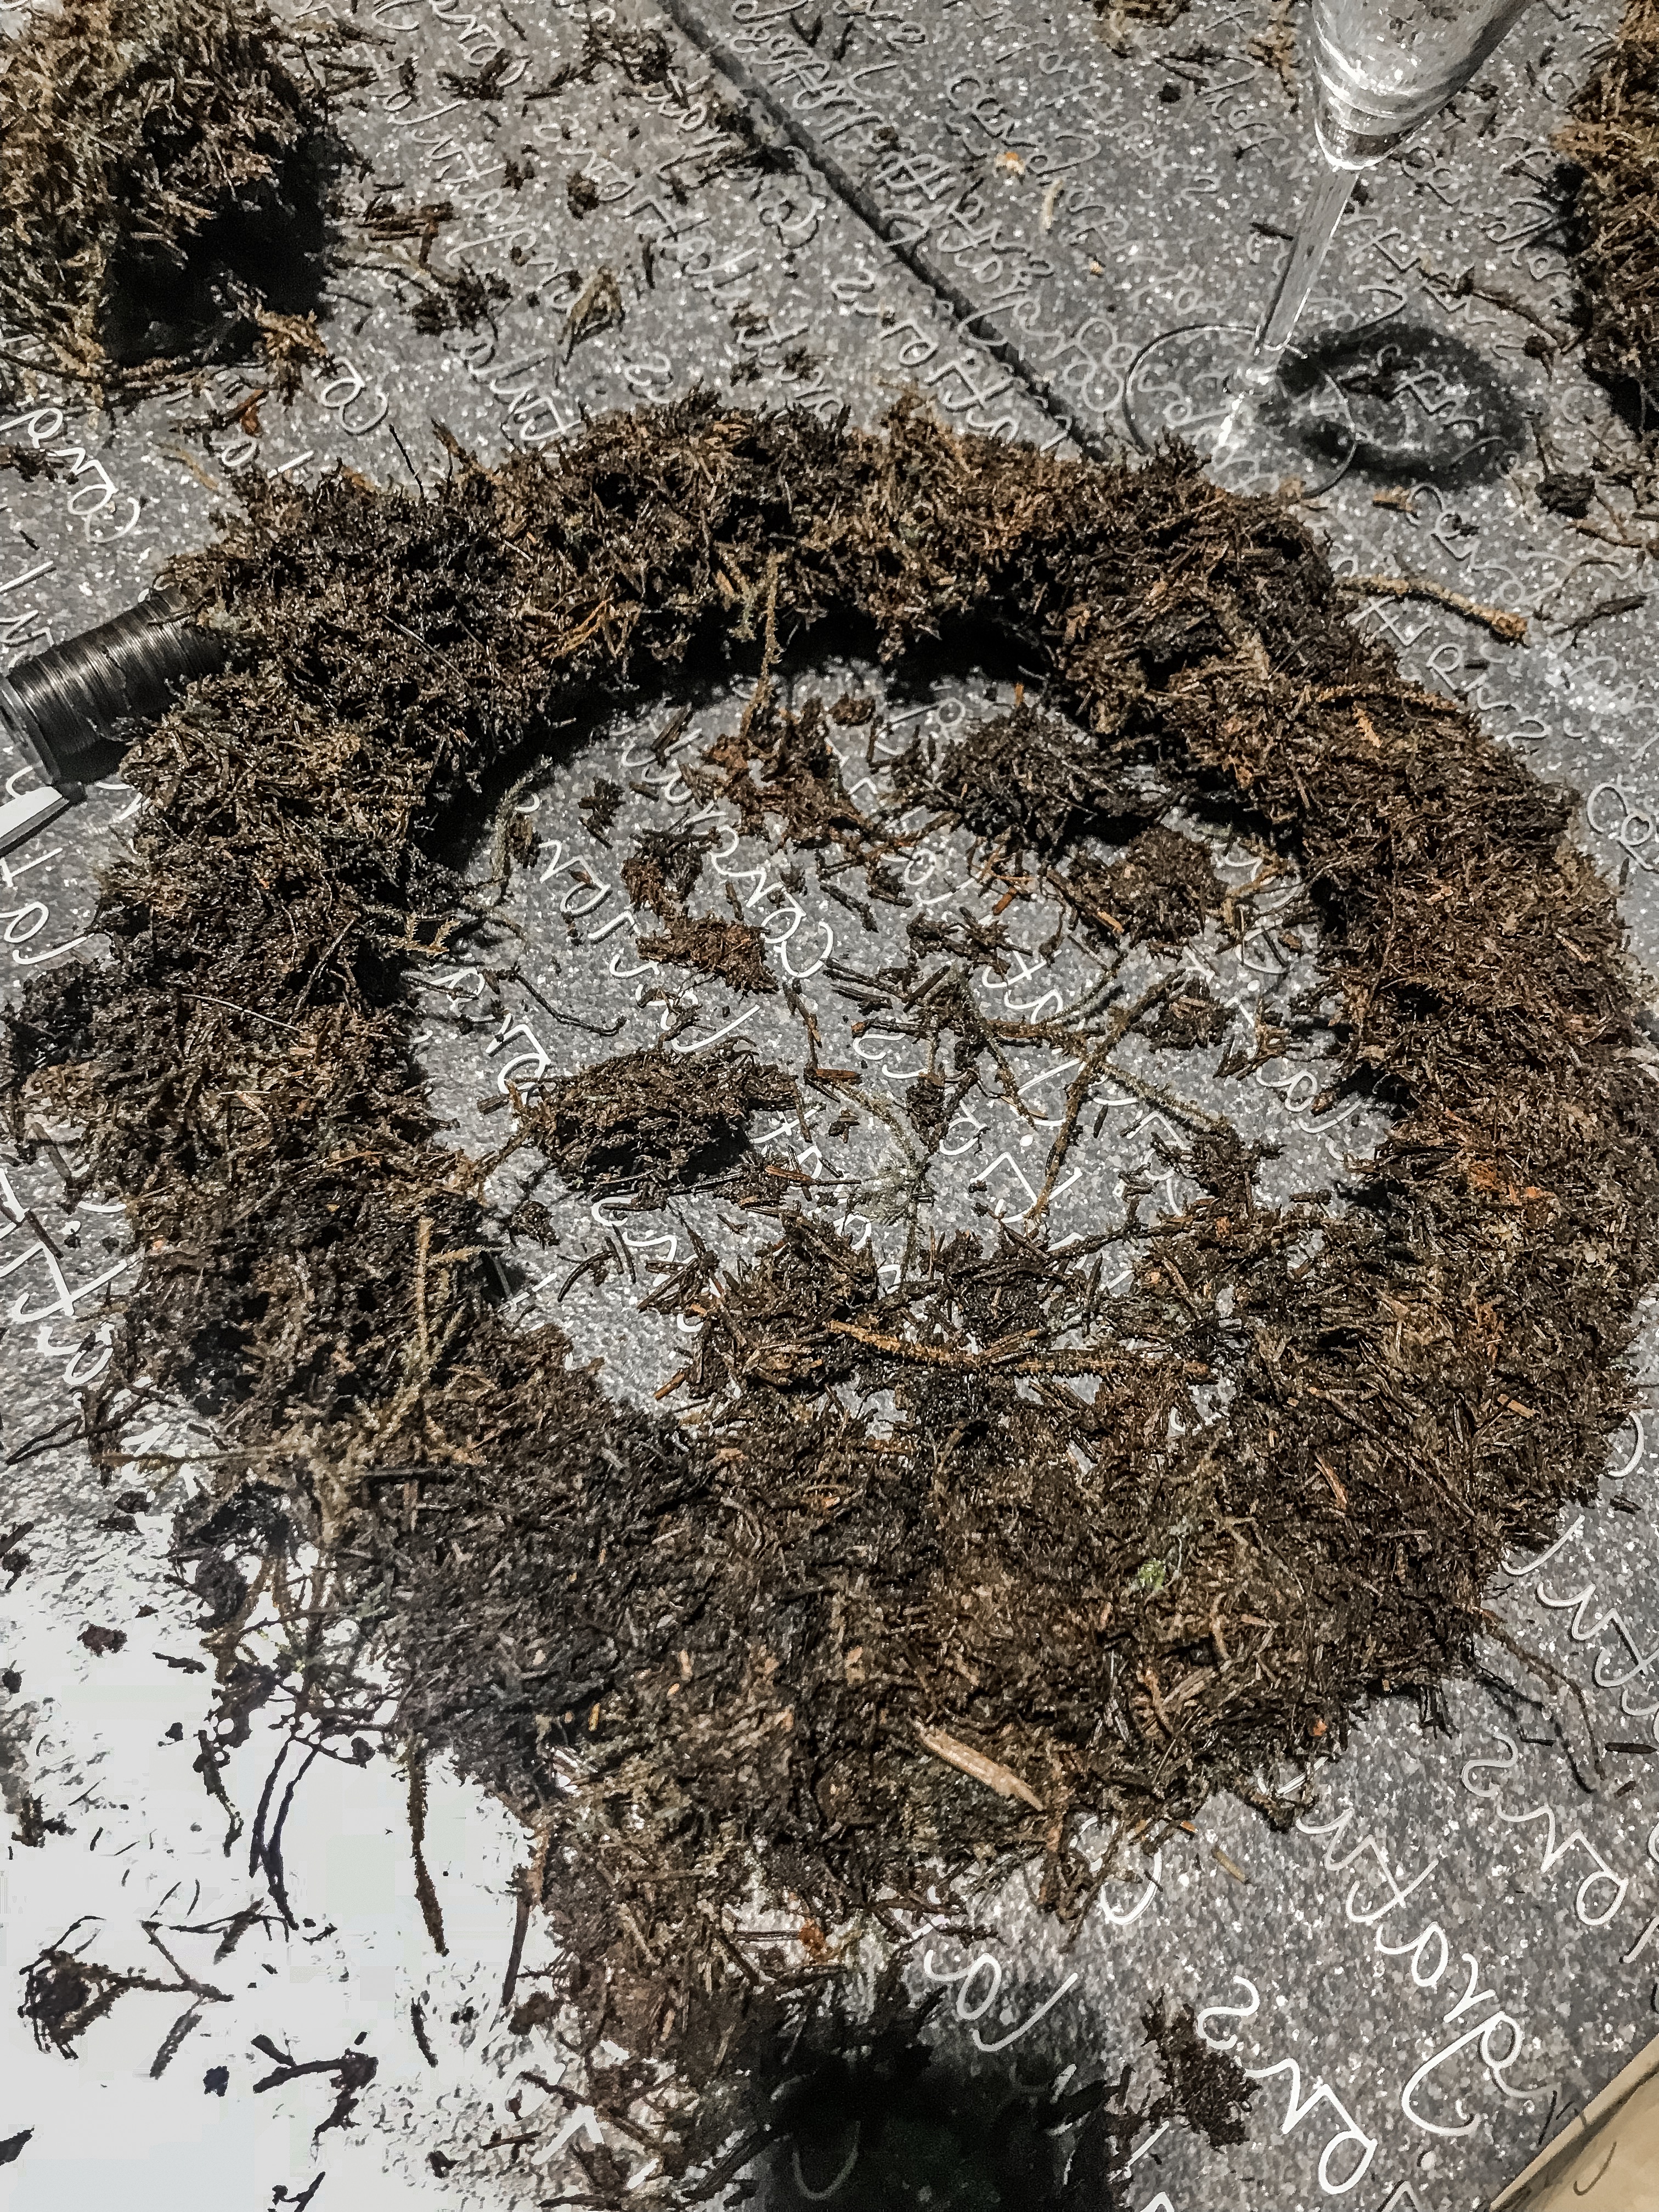
Add your moss
As the first step, this was the trickiest part (and the messiest!) I had no idea that we would be using fresh, wet moss.
It went everywhere! But you had to make sure to add lots on the metal frame, so that nothing falls out or through the frame when it came to decorating it.
You had to place the moss on the wire frame, whilst tieing it tightly with the metal wire around and around.
With a bit of guidance, I managed to get the hang of it!
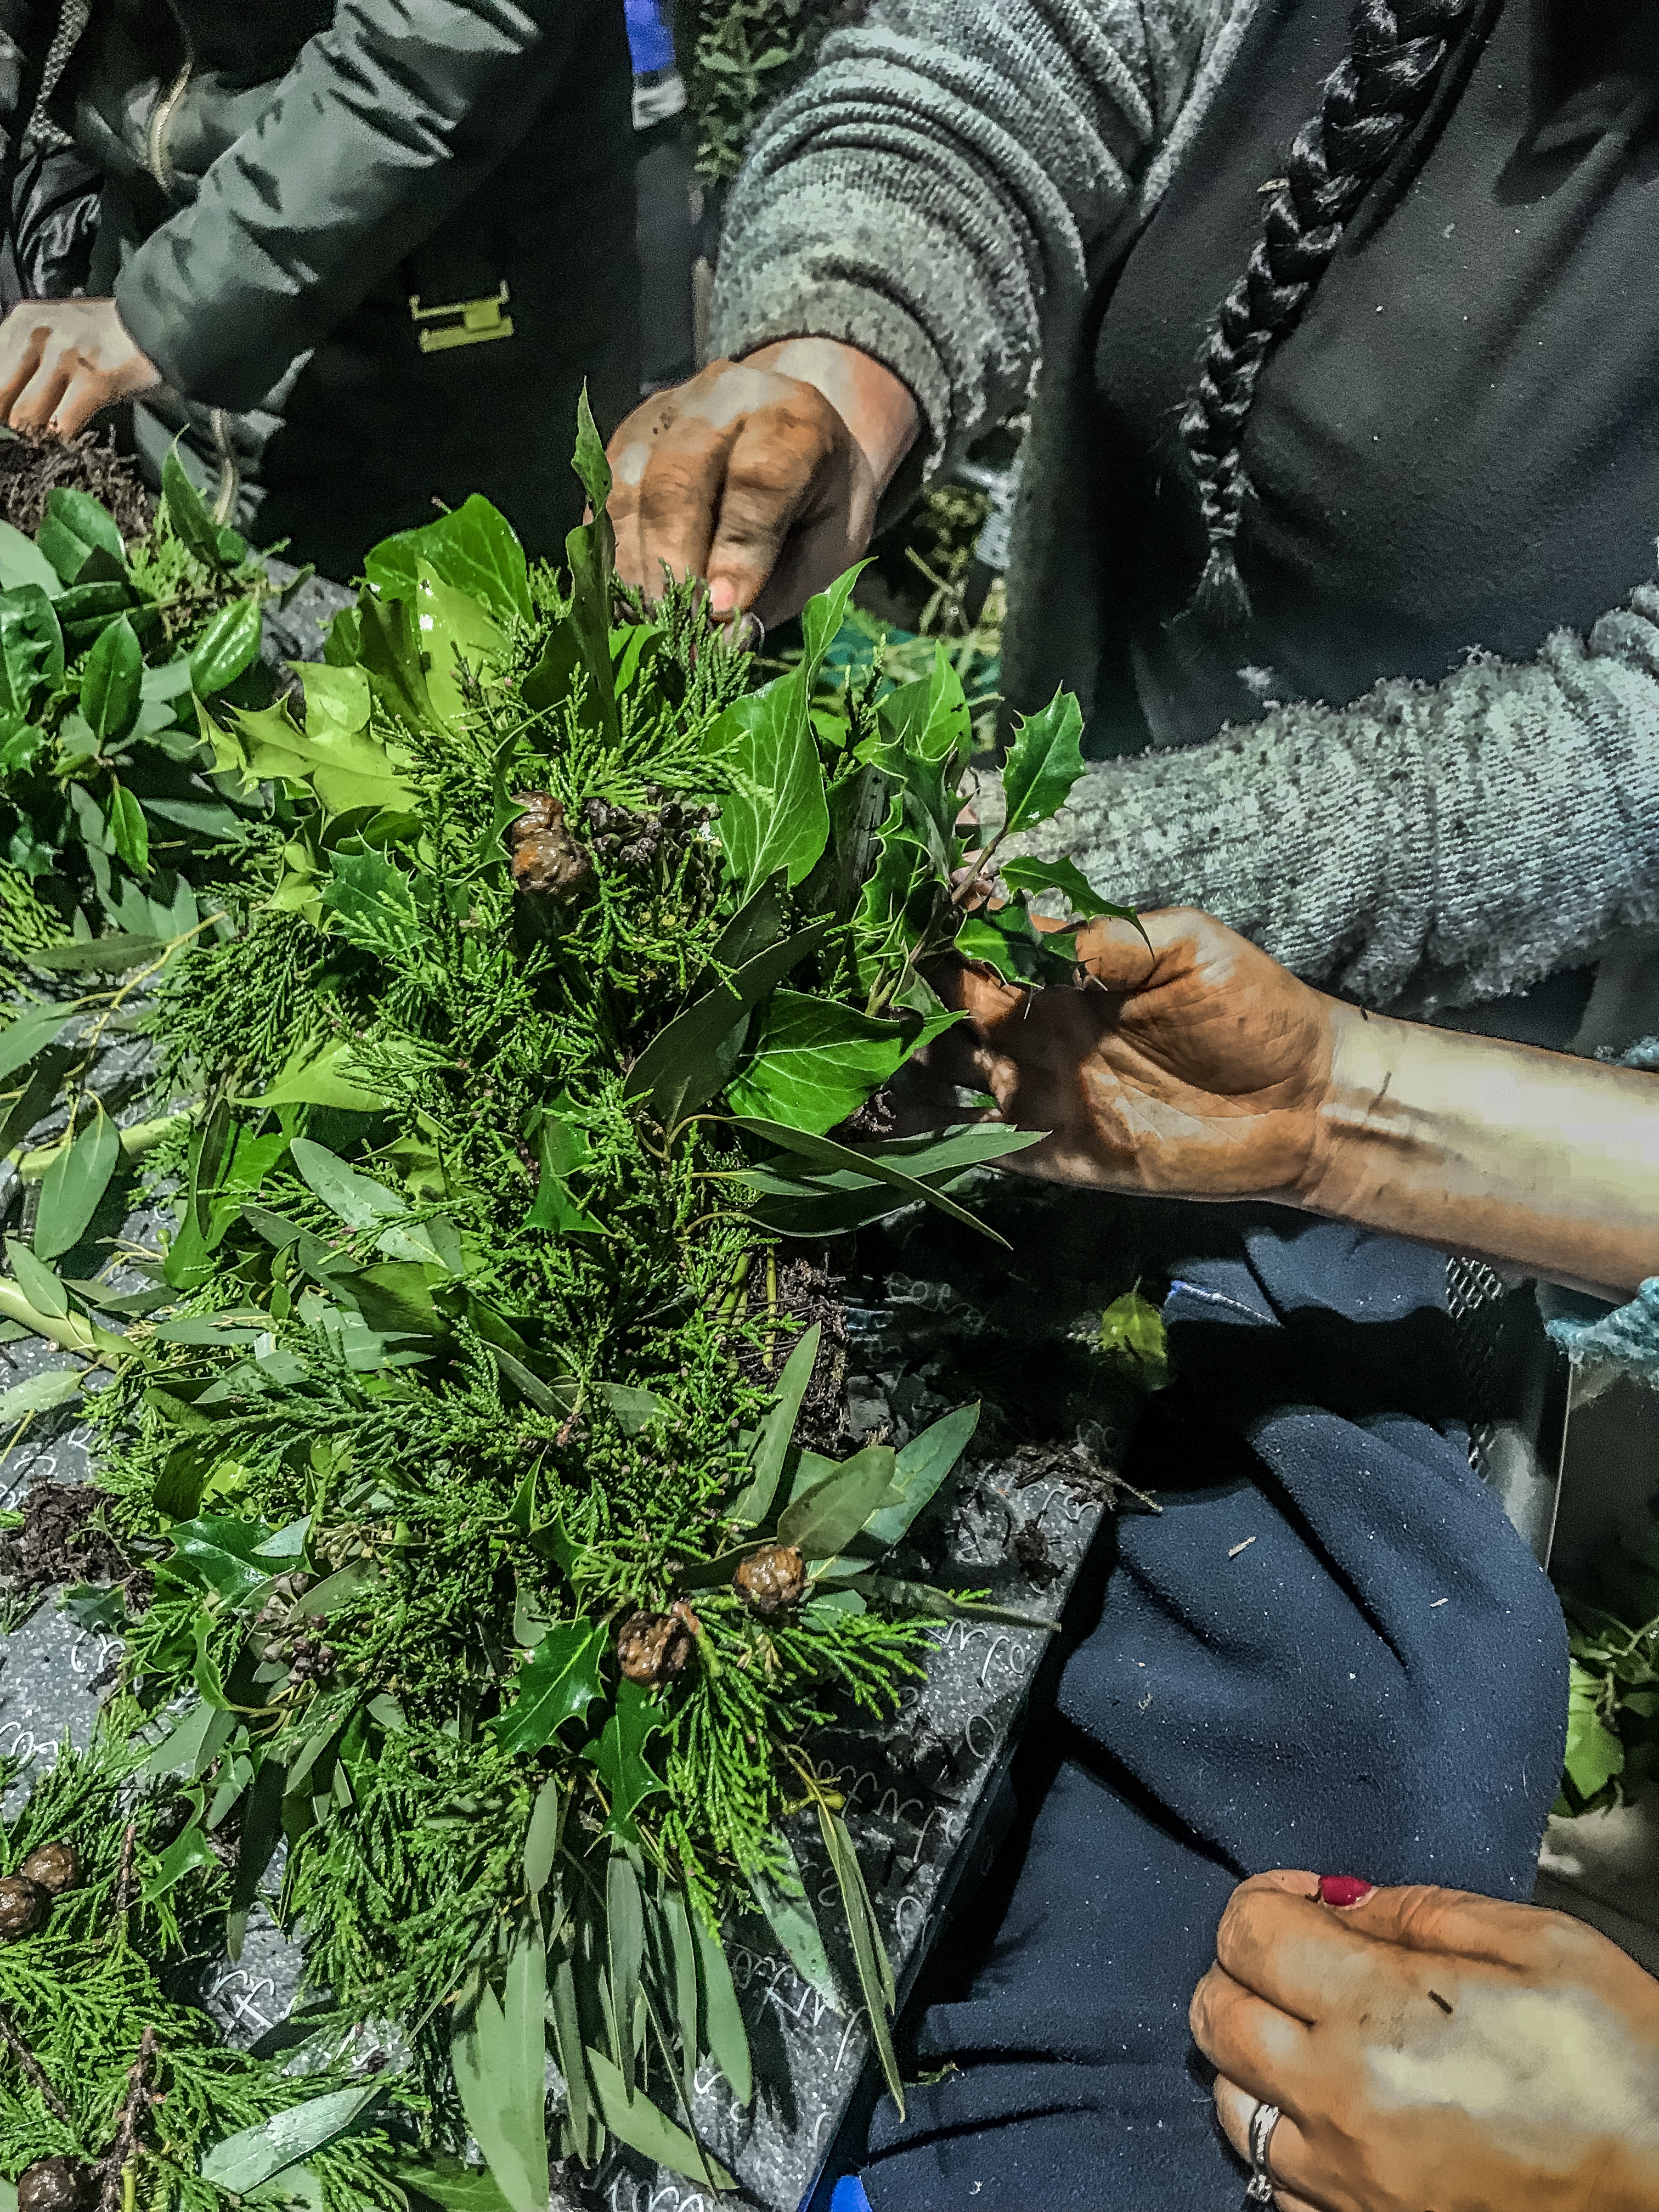
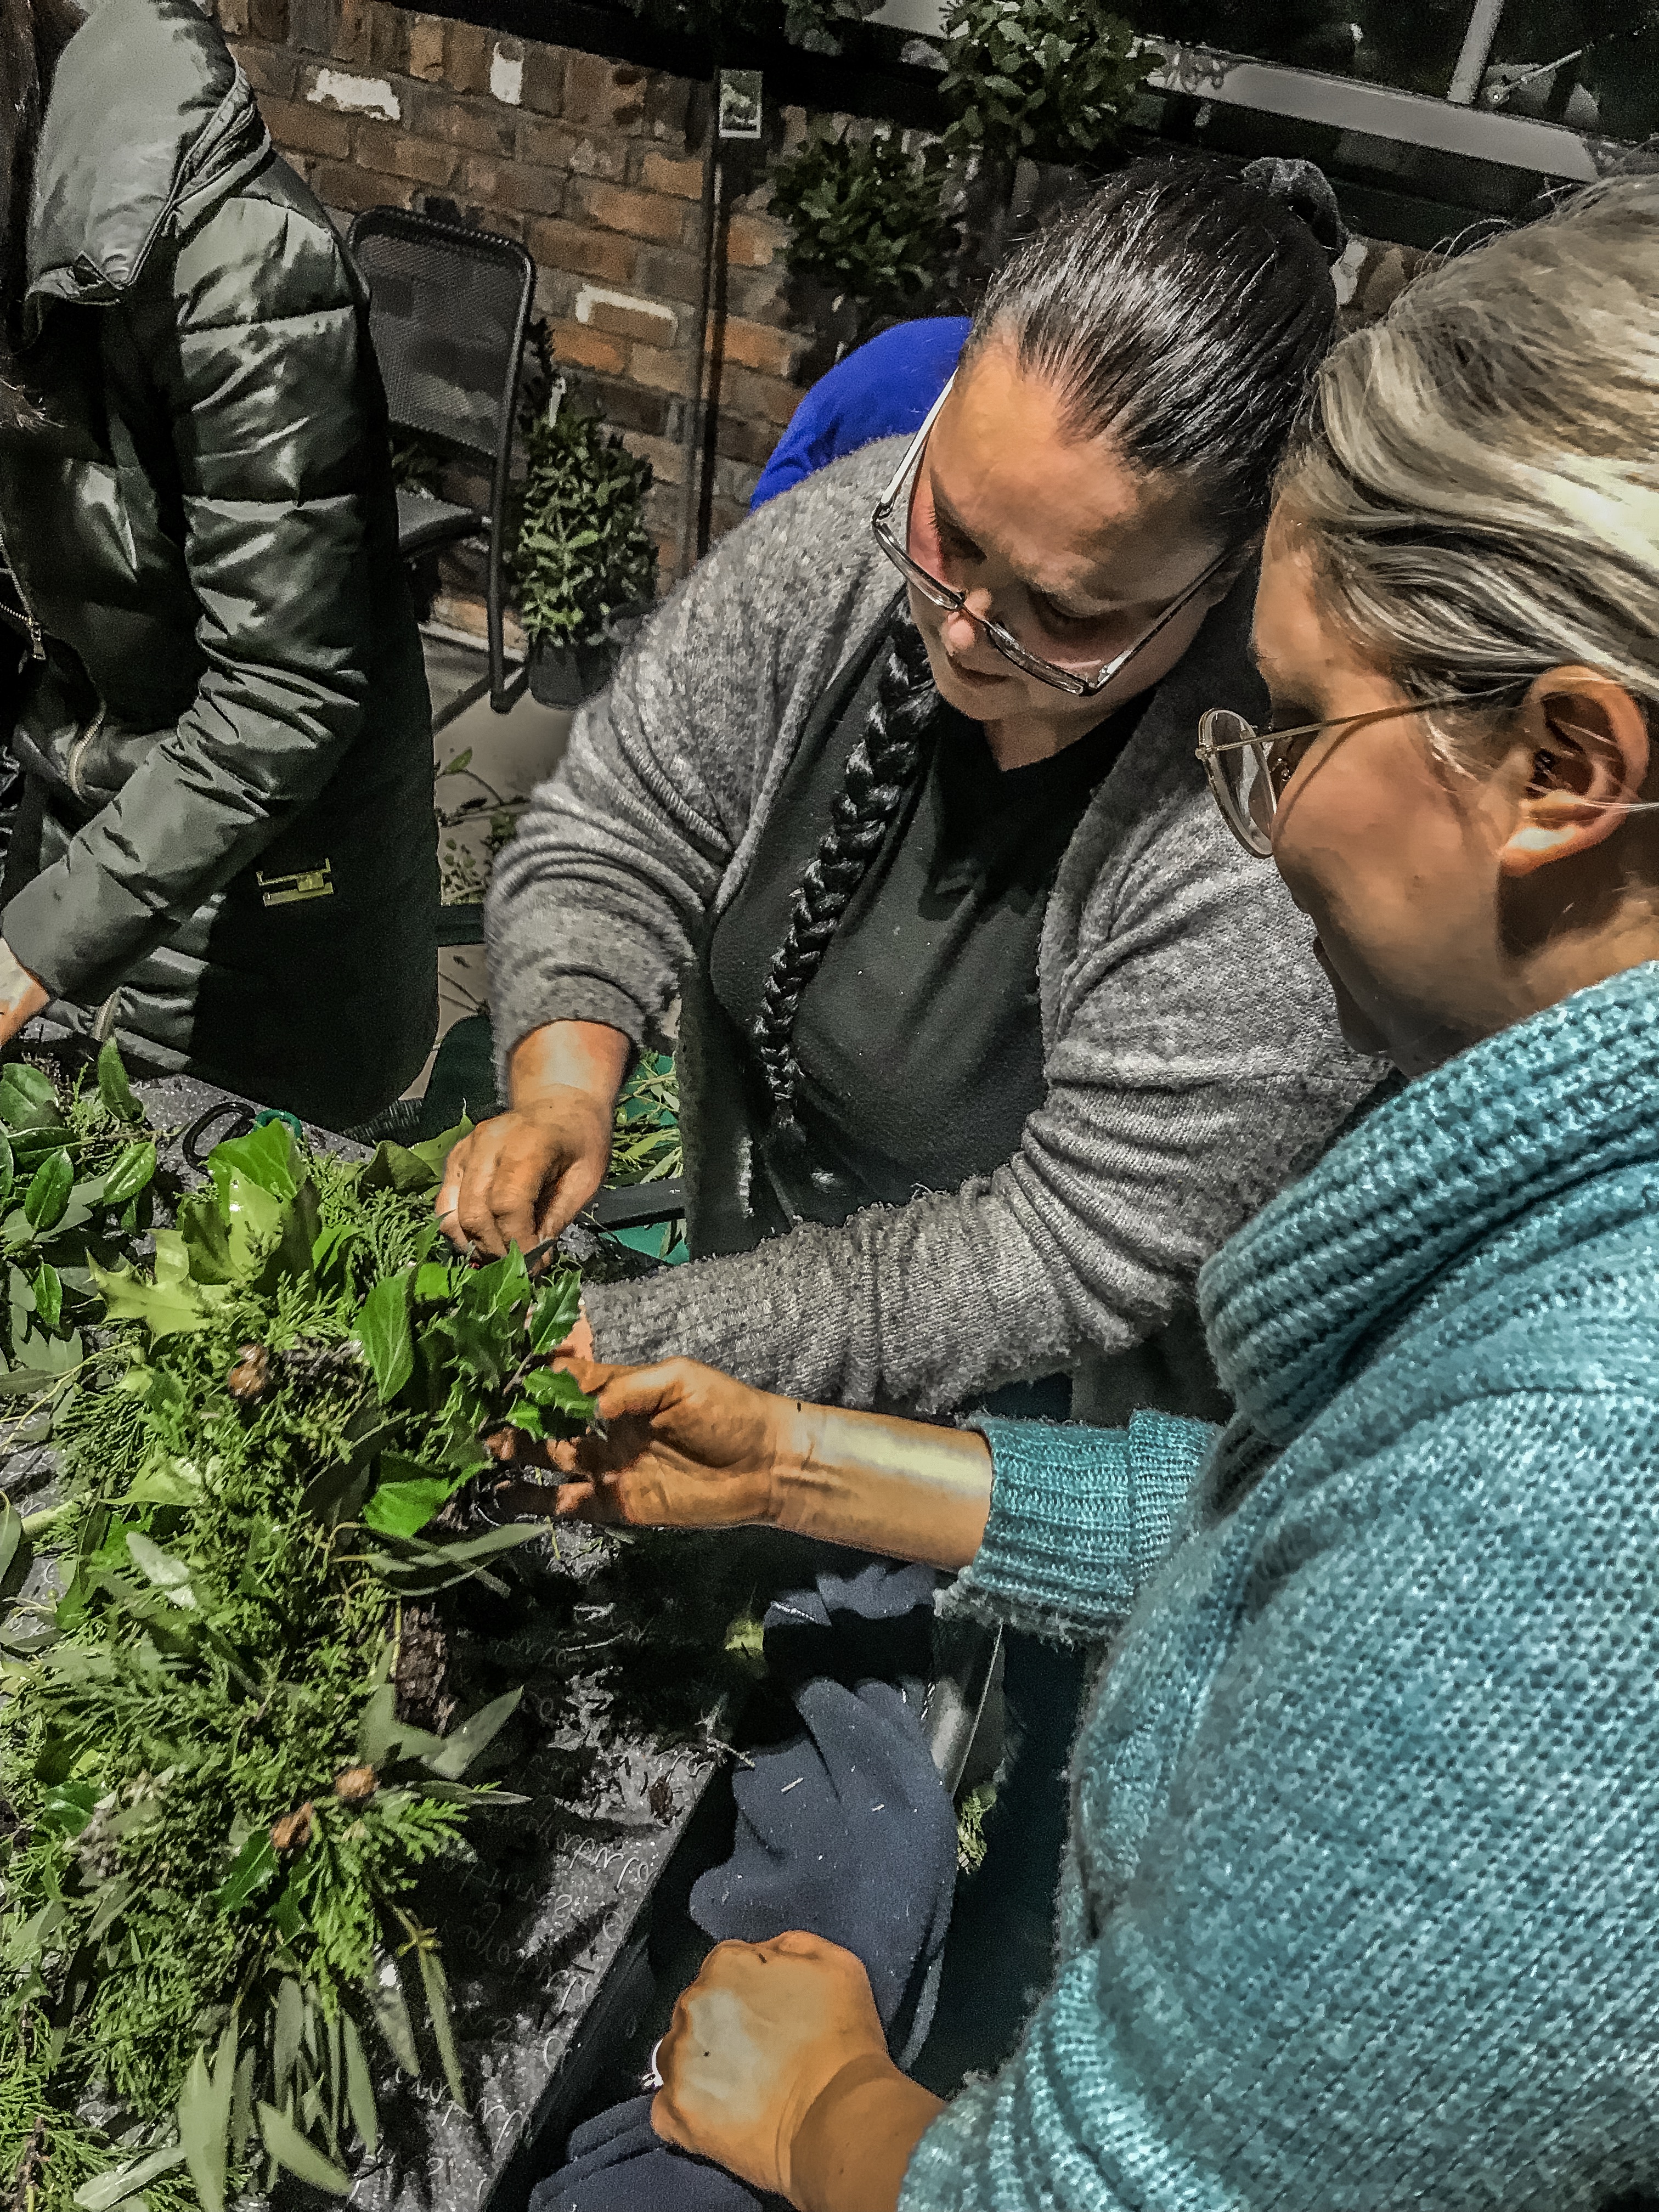
Layer with Foliage
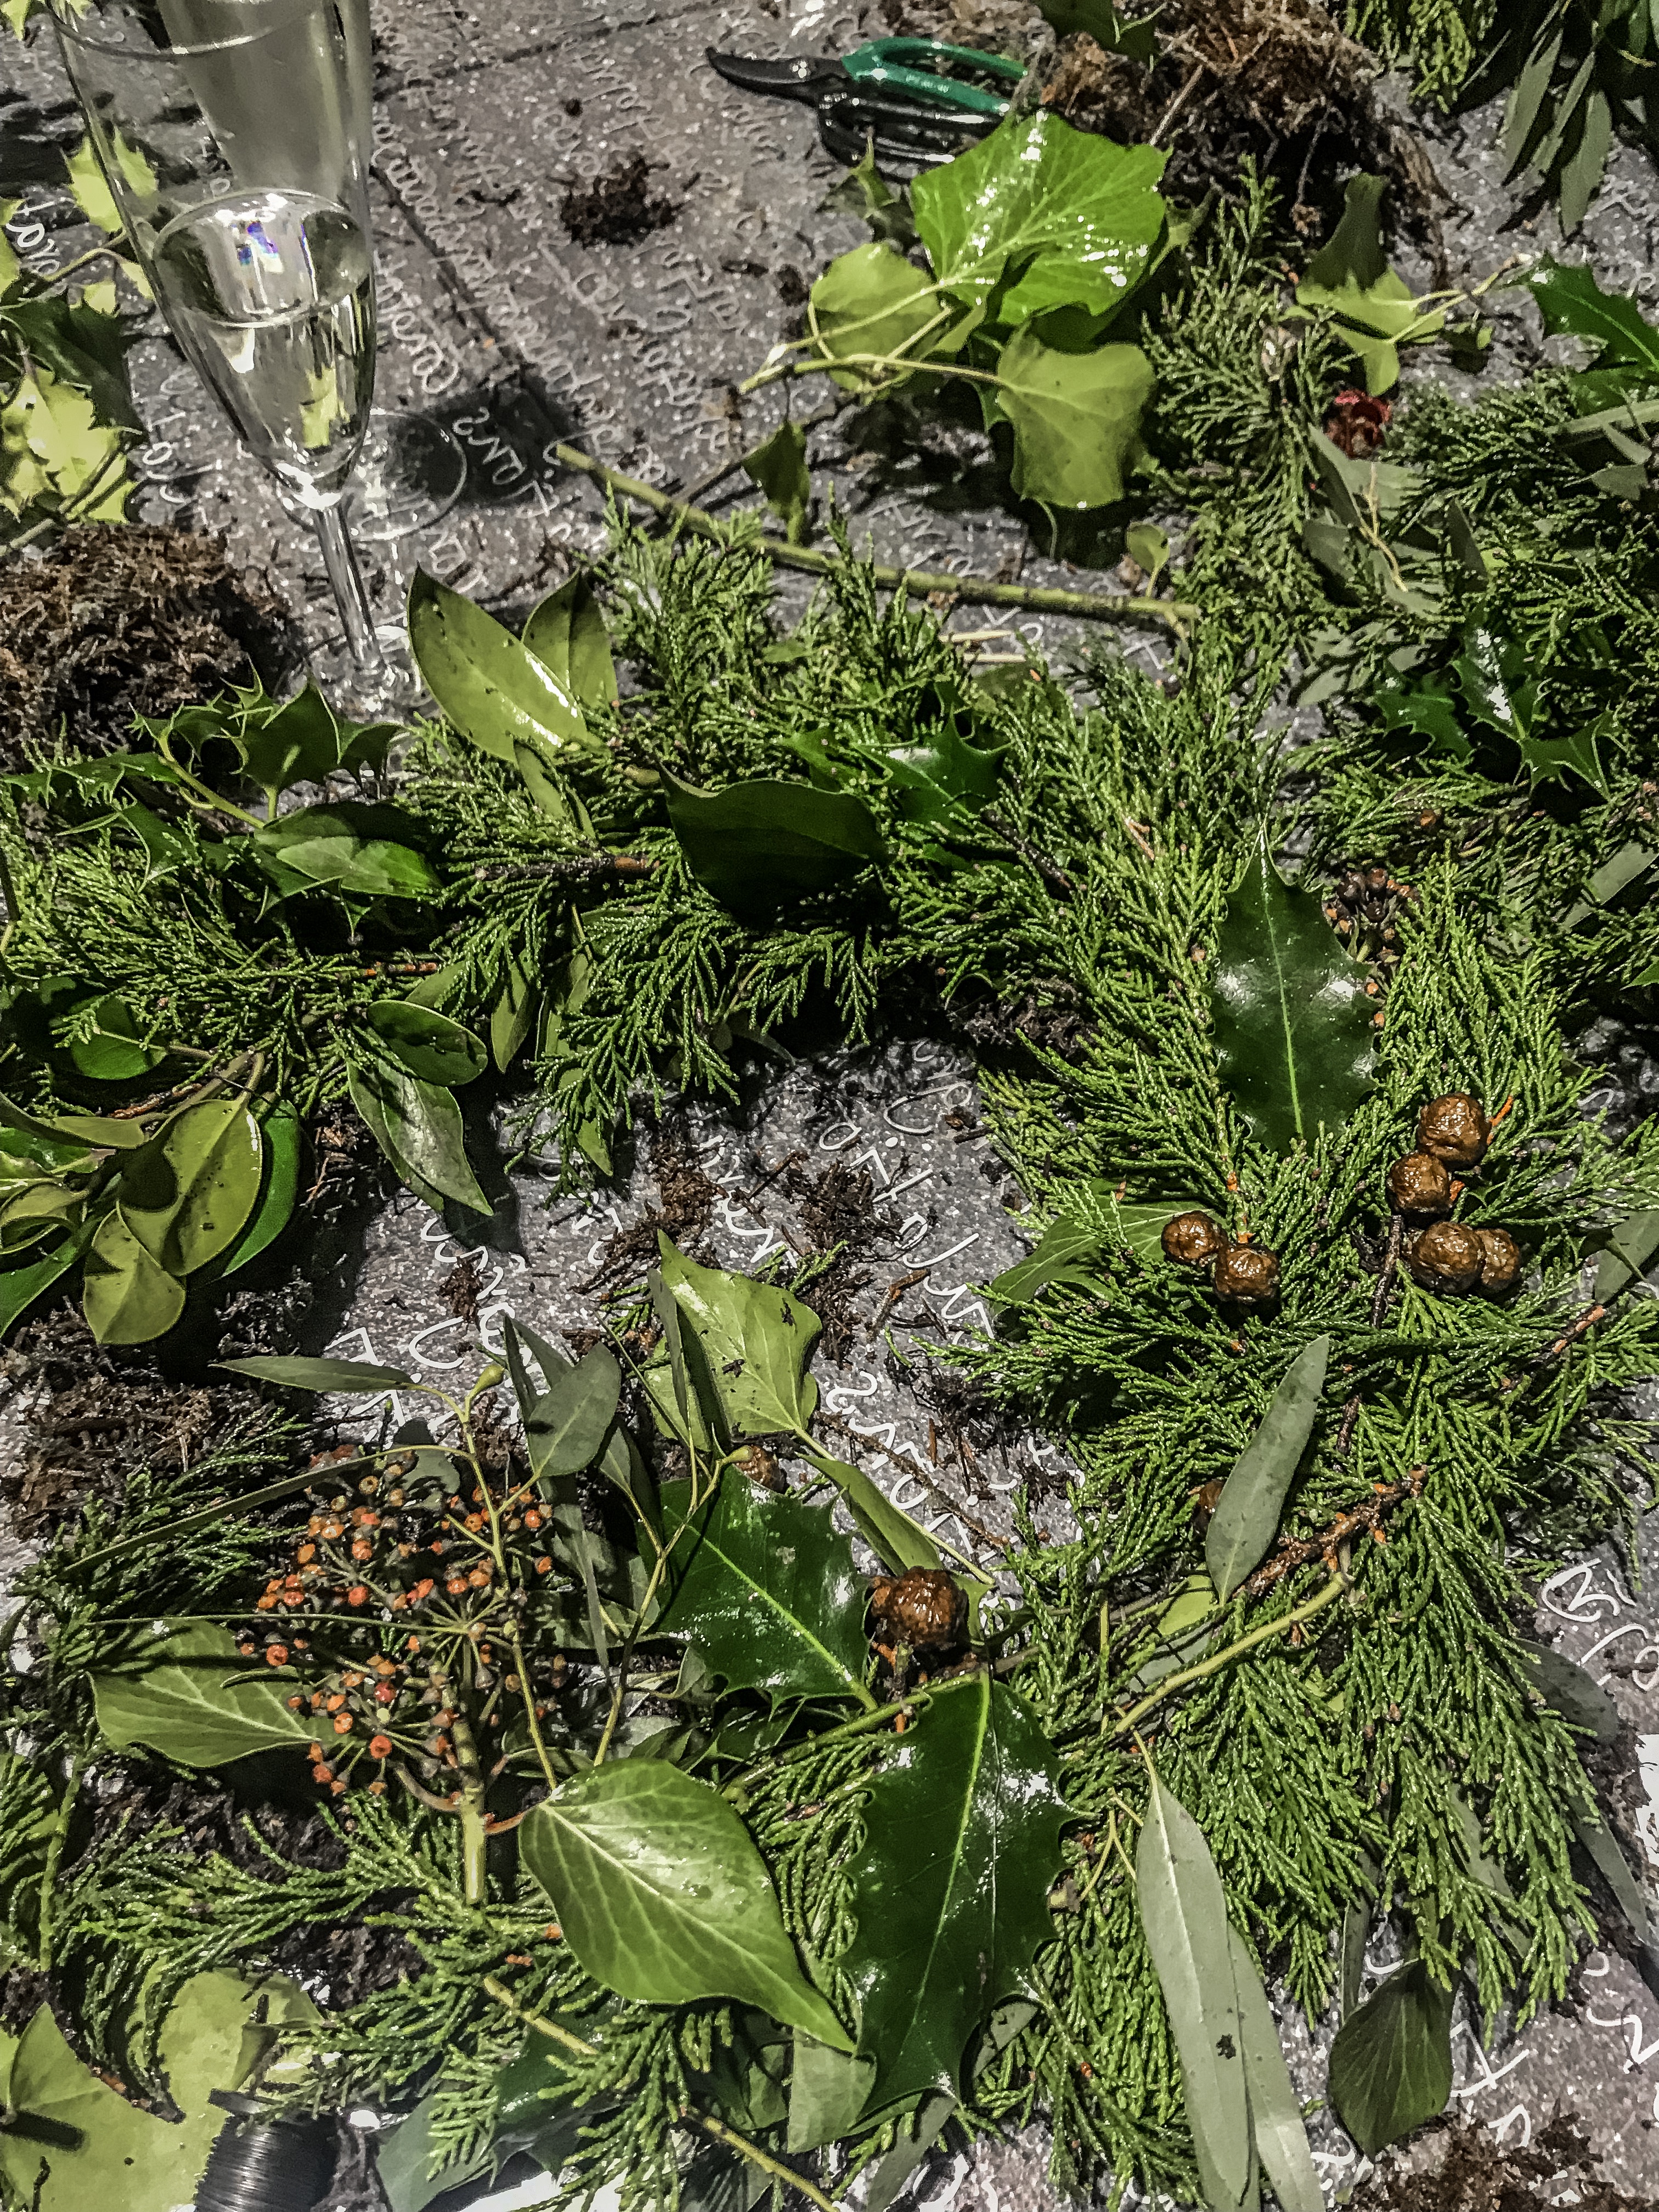
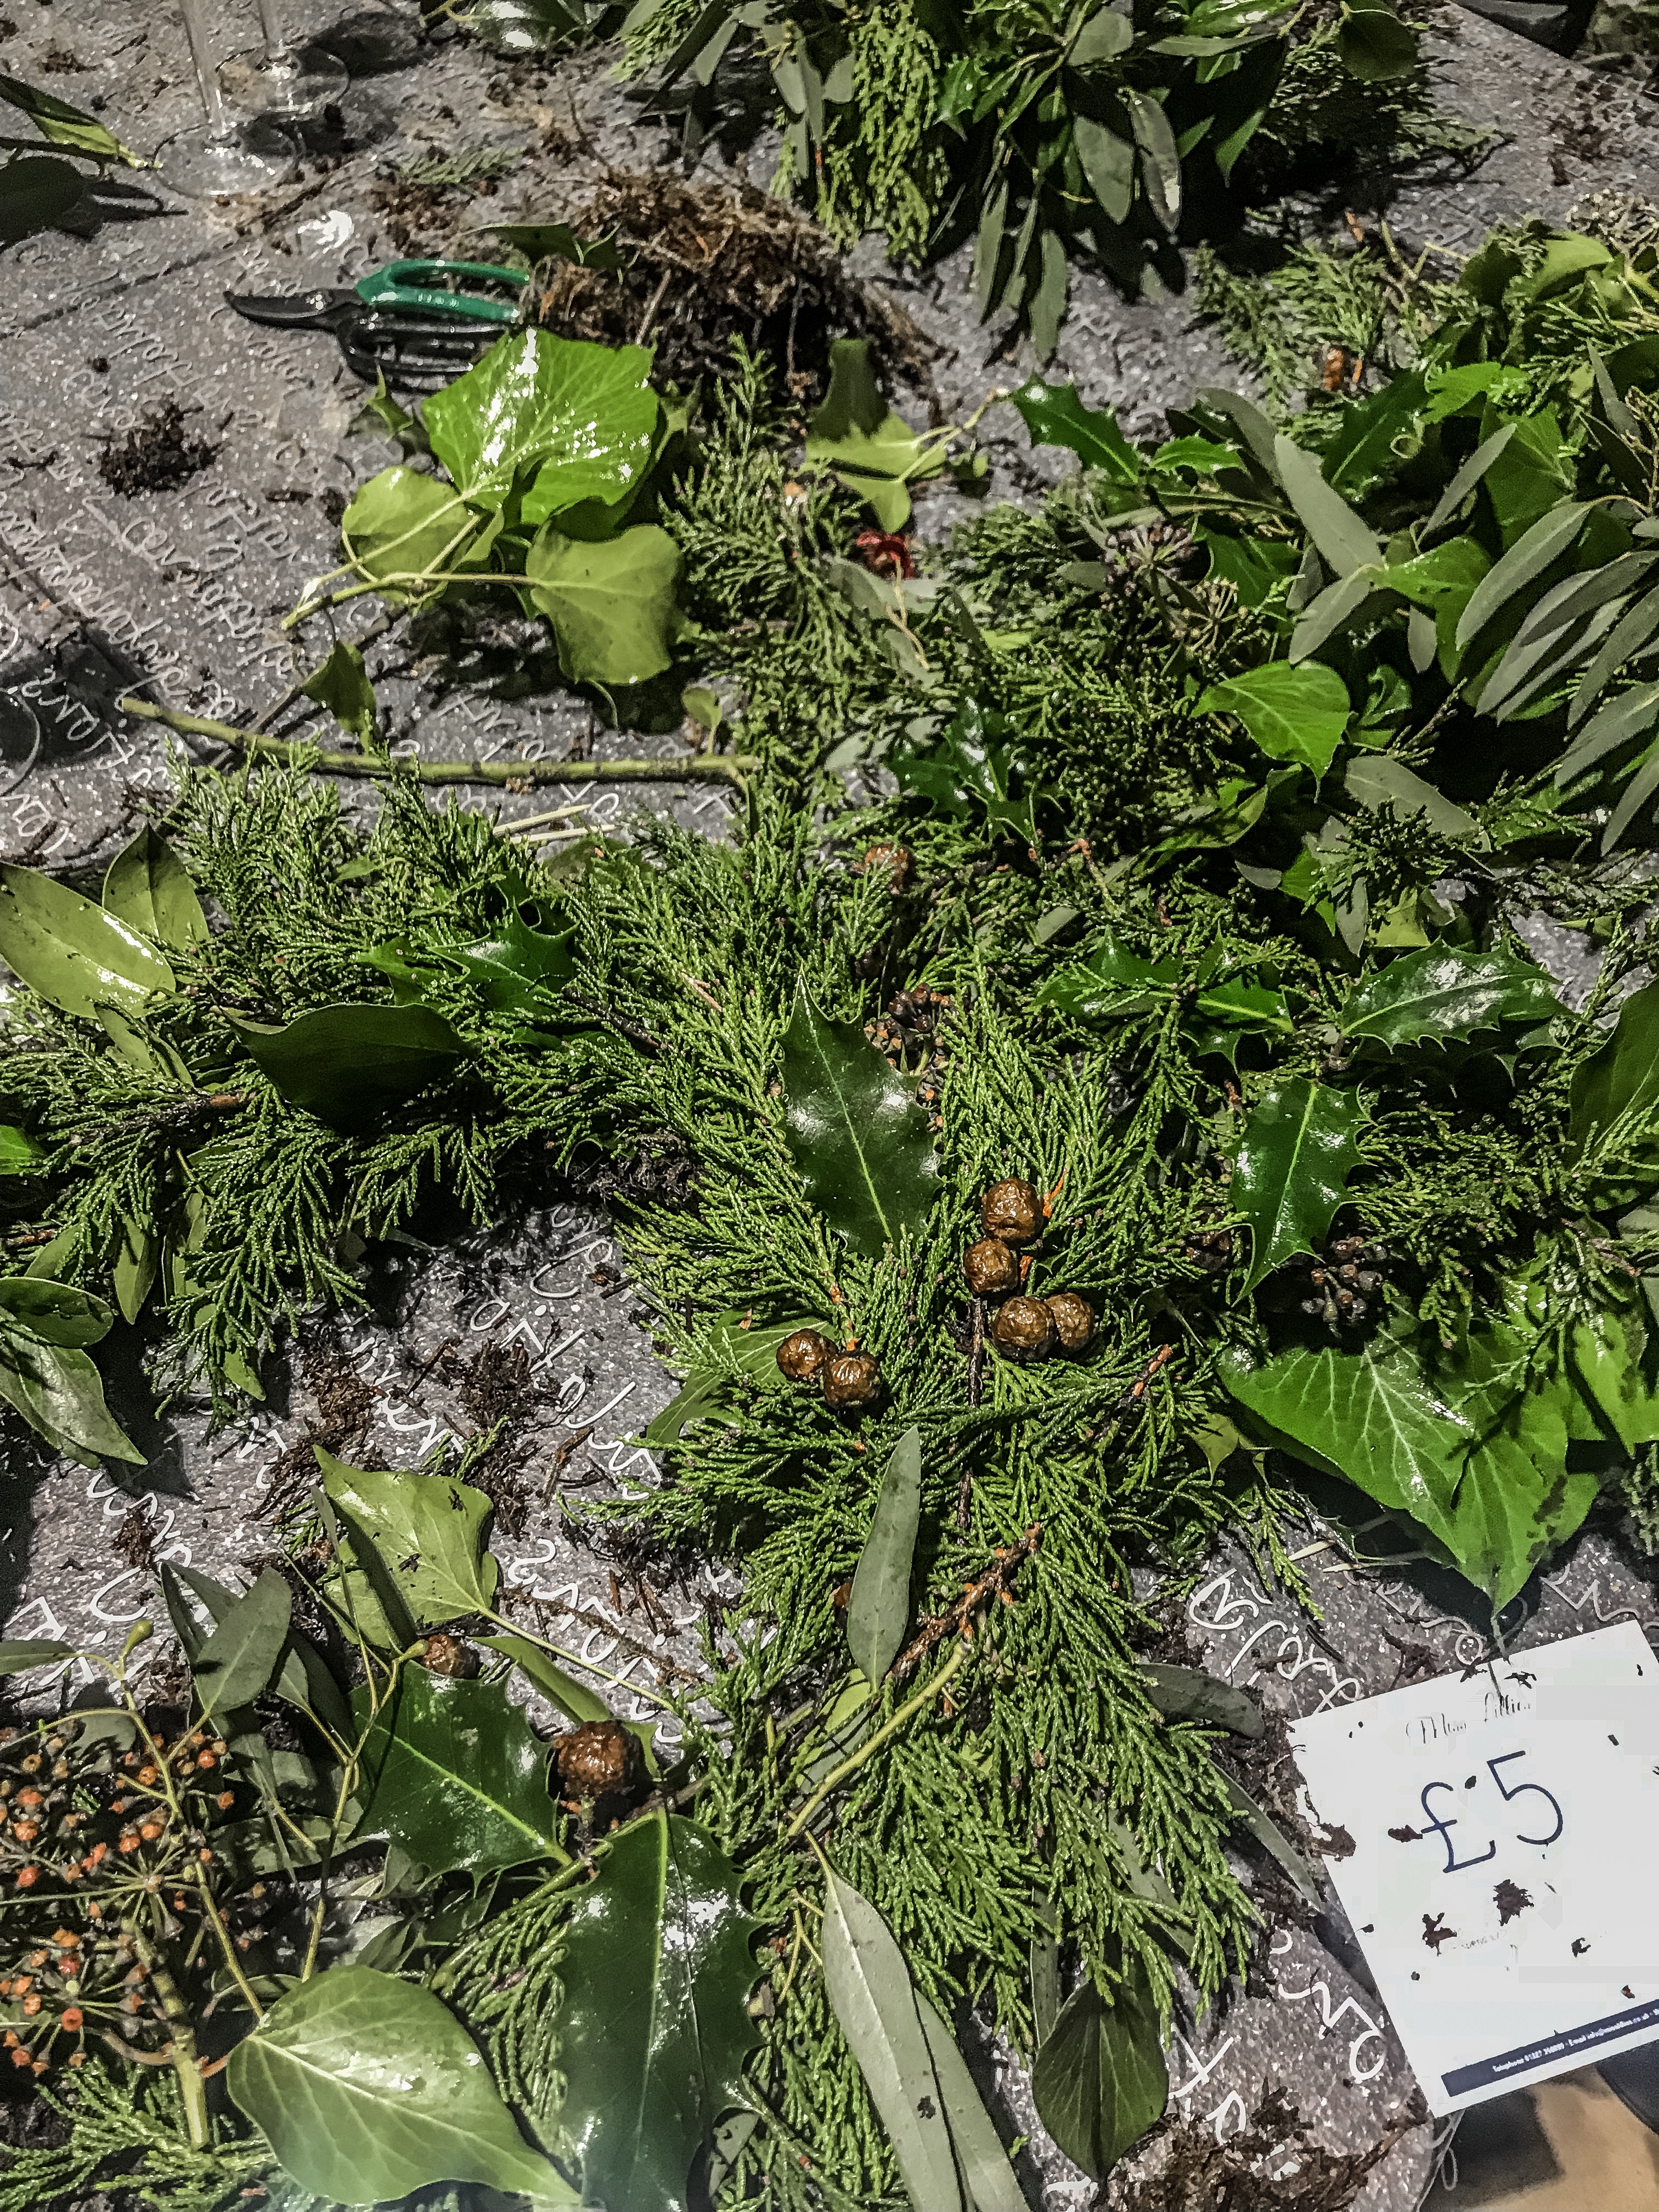
The next step was to fill our wreath with foliage which consisted of branches of Christmas pine tree, holy, ivy and other greenery.
The method was basically layer three lots of branches on top of each other, then with your metal wiring, tighten it all up as you go around.
This part was fairly easy and this was when I started to see my wreath come together and it actually started to look presentable.
One word of caution: ivy pricks and hurts like HELL. You do get pricked a lot!
Other than that, it was all good and I was excited about the next part…
Decoration your wreath
Easily my favourite part, as this was when we got to decorate our wreaths with everything and anything Christmassy from bows, pine cones, red berries, oranges and more!
I went for a very Victorian look, using red berries, cinnamon sticks, pine cones, dried red apples and a Victorian bow to finish it off.
All the decorations were tied on metal wires, so all you had to do was simply put the wire through the wreath, then you had to bring it back on itself to tie it.
Considering I thought my wreath was going to be a disaster, I was really happy and proud of my creation.

Along the way, we had plenty of canapés and drinks to tuck into, including cranberry sausage rolls, cheese and grapes on sticks, pulled pork on cucumber and mini chocolate eclairs!
All washed down with prosecco to get into the festive mood.
Overall, I am really glad I joined Jenn in making Christmas wreaths. It was something out of my comfort zone, but it turned out to be lots of fun and got me doing something completely new.
My parents were happy with my creation and are going to put it on their front door – I hope to go back next year and hopefully by then, I’ll have my own door to put a wreath on!


We paid for this experience, but I enjoyed the event so much I wanted to write about it – the whole experience was £35 which for the hospitality, food, drink, atmosphere and the fact you take a beautiful wreath home with you, I thought it was well worth the money.

Have you ever made your own Christmas wreath?
[mc4wp_form id=”9044″]


Leave a Comment